Facing a ntoskrnl.exe BSOD Error on your Windows machine?
Many users are reporting that they recently updated Windows Creator and are now getting ntoskrnl.exe BSOD(Blue Screen Of Death) every 15 to 20 min and their PC starts rebooting itself.
First of all, you don’t need to worry much because you are not alone in this as other users don’t even know the accurate fixes for ntoskrnl.exe on Windows 11.
But
I just want to tell you that we have compiled a list of the best solutions for you to fix the
ntoskrnl.exe high CPU usage error.
Before moving on to the Solutions we have some questions and their answers ready for you.
What Is Ntoskrnl.exe?
Ntoskrnl.exe(Windows NT Operating System Kernel) plays a major part in Windows OS.
It’s responsible for memory management, processes, and various other system services.
It consists of a cache manager and also interacts with the hardware securely.
Also Read: TOASTER.EXE Failed
How do I fix ntoskrnl.exe blue screen error?
You can fix the ntoskrnl.exe blue screen error by following the list below:
- Your device driver must be updated.
- Replacing the RAM and changing the slots.
- Run system file checker scan.
- Update your Windows OS.
- Uninstall your anti-virus program.
Also Read: MMC.exe Error Blocked
Is ntoskrnl.exe a virus?
Ntoskrnl.exe is stored in the C drive of your PC so according to experts the cybercriminals use Ntoskrnl.exe to name the virus they create so it can act as malware sometimes.
Video Guide: How To Fix Ntoskrnl.Exe BSOD Error on Window 11/10?
Solution 1: Update Driver on Windows 11 through Device manager
If you have outdated graphic drivers, network drivers, or any other driver in the device manager list on your PC
it can lead to many issues such as lag in games and one of the main issues will be the ntoskrnl.exe in Windows 11.
For example, if you get a ntoskrnl.exe BSOD while using a printer then the printer driver might be outdated and the same goes for any other driver.
So, it’s best to make sure that your graphic drivers or your printer, or any other driver are updated in order to overcome ntoskrnl.exe Windows 11
You can use this technique to update other outdated drivers too.
Here’s how you can check for updates:
- Click on the Search icon
- Type Device Manager
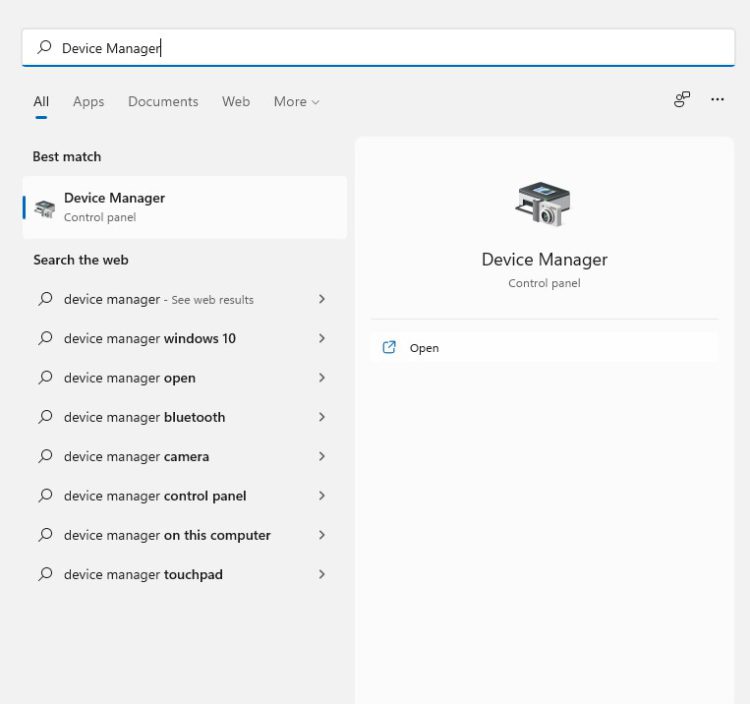
- Click to open Device Manager
- Then select the Print queues

- A further menu will open
- Right-click on the printer you are using.
- Click on the Update driver
- And then select Search automatically for drivers.
- After the updates are done restart your PC and check if ntoskrnl.exe Windows 11 is fixed.
Also Read: How to Disable Gamebar.exe in Windows 10
Solution 2: Update Windows 11
Sometimes your outdated PC is the main cause of the ntoskrnl.exe BSOD in Windows 11
For the best performance of your PC, you need to make sure that your Windows OS is up to date
and with new updates, the bugs or errors like ntoskrnl.exe and high CPU usage will be fixed.
- Click on the Windows icon
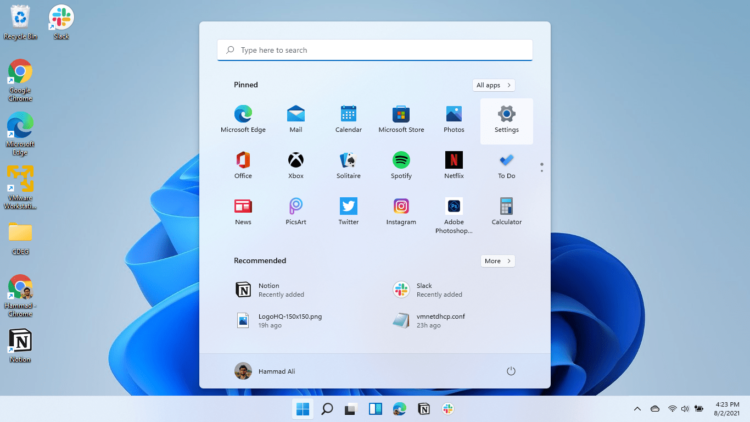
- Click on the settings icon
- A new window will pop up
- Select Windows Update from the left menu
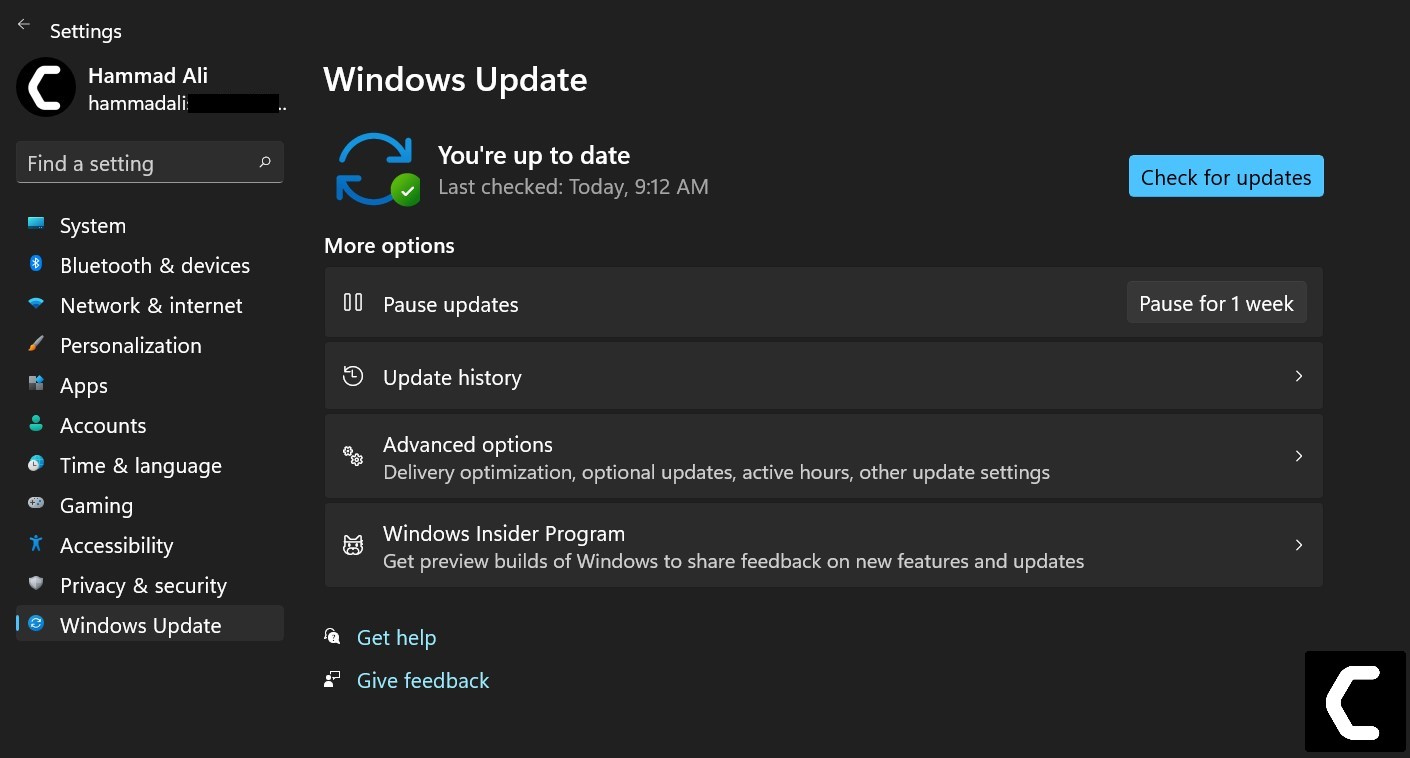
- The new window will pop up
- Then click on Check for updates button.
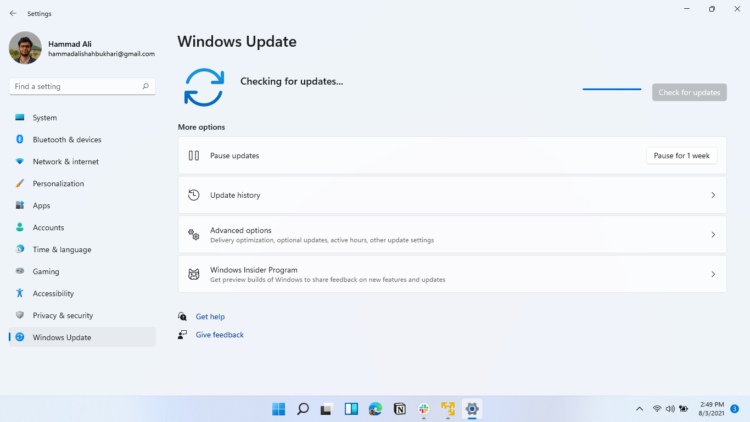
- If there is any update it will start updating the PC
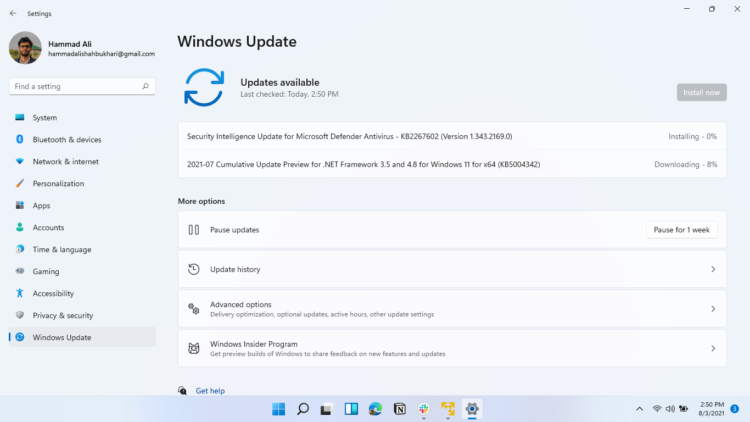
- It will take some time to update Windows OS and after that, you can restart your PC.
If the above solution didn’t work you can move on to the next one for fixing ntoskrnl.exe BSOD.
Also Read: LockApp.exe? What’s It? Is It Safe?
Solution 3: Performing a Clean Boot Using MSConfig
Clean boot will help you to eliminate the unnecessary applications which are running on the backend.
Also, it will help fix ntoskrnl.exe BSOD and will replace the corrupted file that is not allowing the program to run.
And shut down any applications which are conflicting with each other.
Here is how to perform a Clean Boot:
- Press Windows Button + R Key
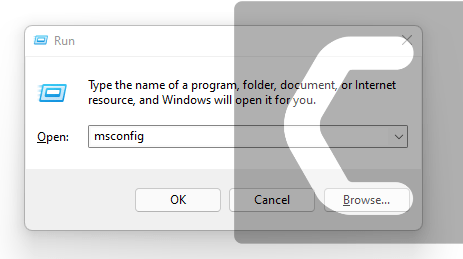
- The Run Dialogue Box will appear
- Type “msconfig“
- Press Enter
- The System Configuration window will open
- In the General tab uncheck Load system services and Load startup items box as this will only use services issued by Microsoft when your PC will reboot.

- Now Select the Service tab
- Uncheck all the unnecessary service

- Only check those who are not using high CPU usage.
- Now click OK
Now your clean boot is done and the unnecessary services are eliminated
and after restarting your PC your ntoskrnl.exe BSOD error on Windows 10 will be fixed.
Solution 4: Perform a System File Check
Sometimes the damaged file can lead to ntoskrnl.exe BSOD error on Windows 10 and your program will be unable to run.
So, the Sfc(System file checker) helps you scan the errors and replaces them.
Here’s what you need to do to fix the ntoskrnl.exe CPU usage:
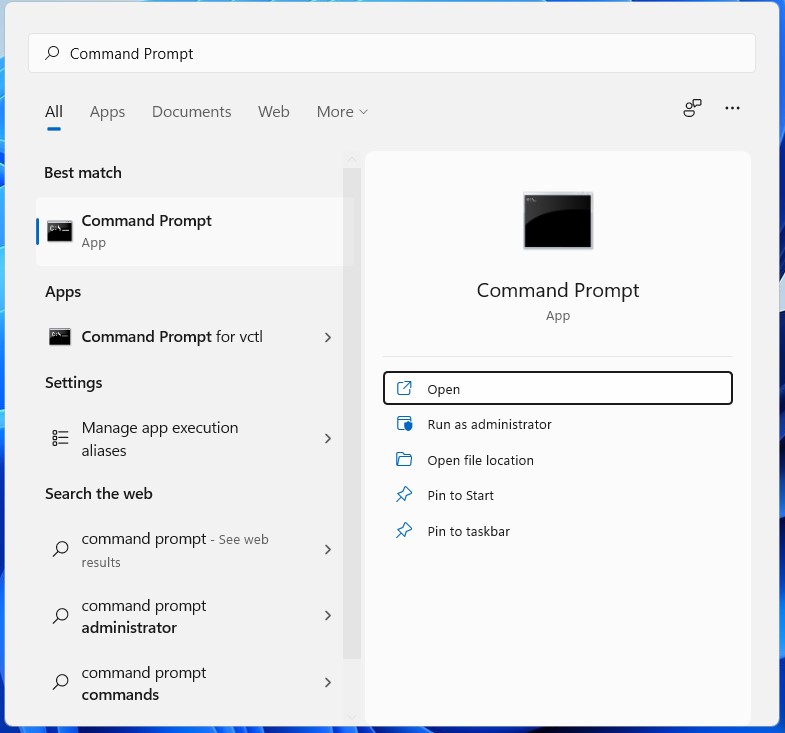
- Open Command Prompt as an Administrator, press Windows Key + X;
- Or, search “Command Prompt” in the Startup menu, then choose Run as administrator
- Type “sfc /scannow”.
Note: Be careful with the spaces between comands. This action may take up to 20 minutes so don’t interrupt it. After that restart your PC and check if ntoskrnl.exe bsod is solved or not.
If ntoskrnl.exe error is still there after the scan and is unable to fix it then continue to check disk solution.
Solution 5: Run a CHKDSK Scan
The chkdsk scan function replaces all the missing and corrupted files that were leading to ntoskrnl.exe BSOD.
So, here’s what you need to do to fix the Blue Screen:
- Open Command Prompt as an Administrator, press Windows Key + X
- Or, search “Command Prompt” in the Startup menu, then choose Run as administrator
- Click the Yes button for confirmation when the dialog box appears
- Type chkdsk /r and press Enter
- You will receive a message saying if you want the disk scan to be performed when you reboot your PC next time
- Type Y and press Enter.
- After the disk drive scan is complete then check if ntoskrnl.exe high CPU usage is fixed.
Solution 6: Scan For Virus and Threats
When you download something from a malicious website you may download a virus with it.
Although you have an antivirus installed on your PC still it can’t protect your system 100%.
Also, it replaces the damaged files.
So, to overcome ntoskrnl.exe in Windows 11 it’s best to scan for viruses using the Windows 11 built-in virus protection software.
Here’s how:
- Click on the Search icon
- Select Settings.
- Now click on Privacy & security > Windows Security
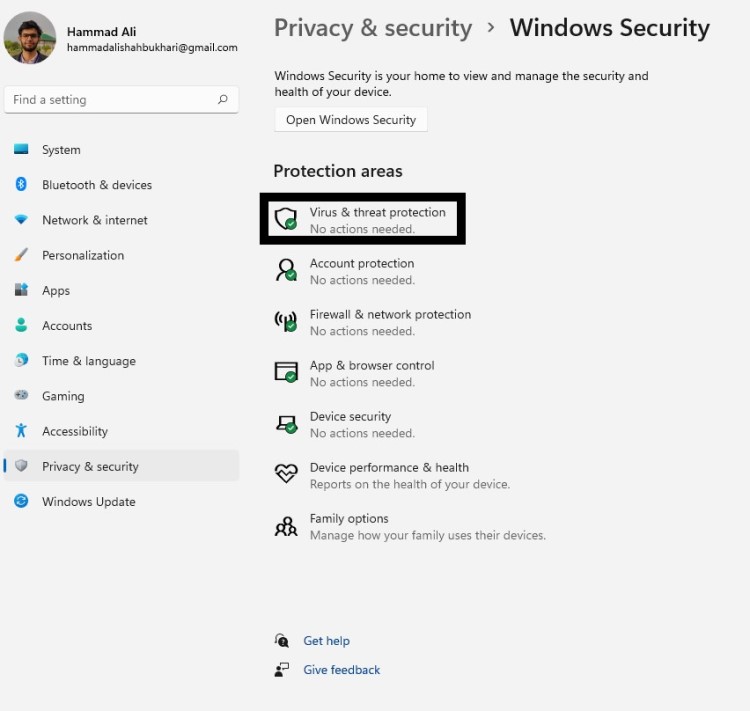
- Select Virus & threat protection and click on Quick scan.
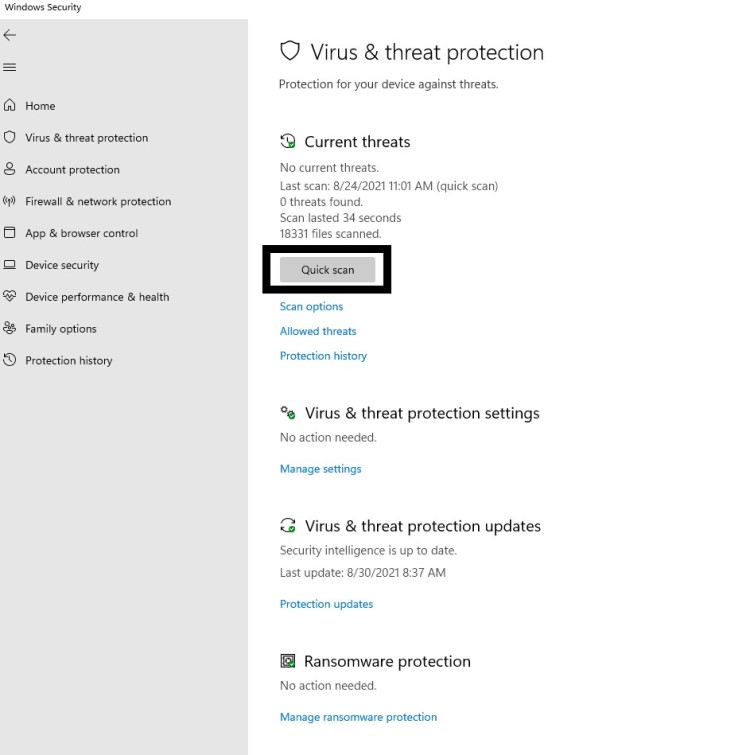
- Wait for the scan to finish and then restart your PC to see ntoskrnl.exe BSOD in Windows 11 is fixed.
Solution 7: Perform Windows Memory Diagnostic Test
Windows Memory Diagnostic test will check your PC memory for errors and also check the drivers which are causing this ntoskrnl.exe error.
Make sure you close all the apps and games.
Here’s how you can perform the test:
- Press the Windows key and type Windows Memory Diagnostic
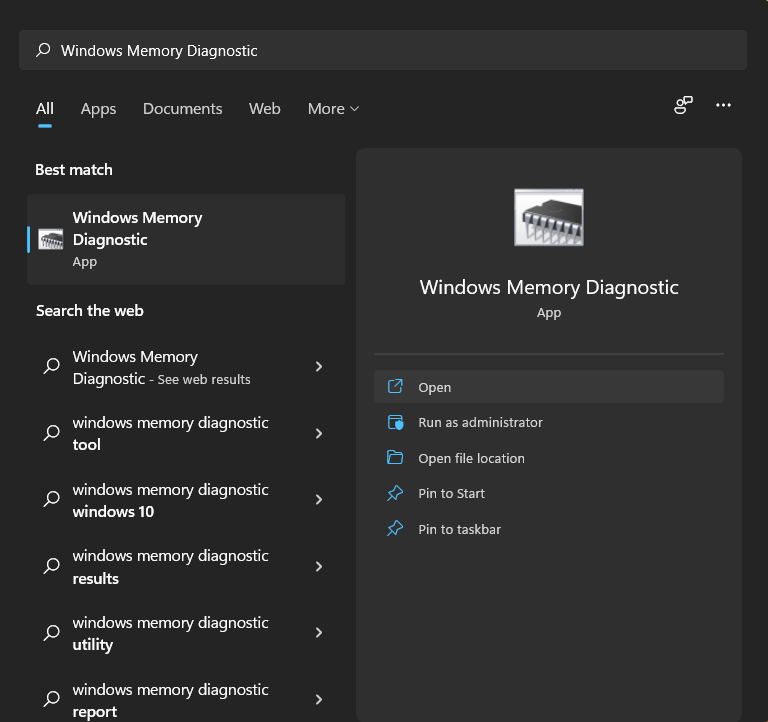
- And press Enter.
- A window will pop up and click on Restart now and check for problems(recommended)
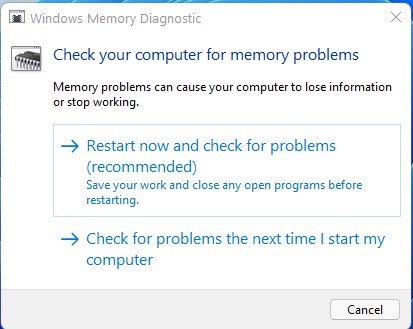
- Your PC will restart and will start scanning for errors.
- It will take some time so you don’t need to worry and your ntoskrnl.exe will be fixed once you log in back to your PC.
Solution 8: Use a System Restore Point to Fix Missing DLL Files
This feature helps you to restore your PC to a previous state as the ntoskrnl.exe might be due to previous changes made to the PC.
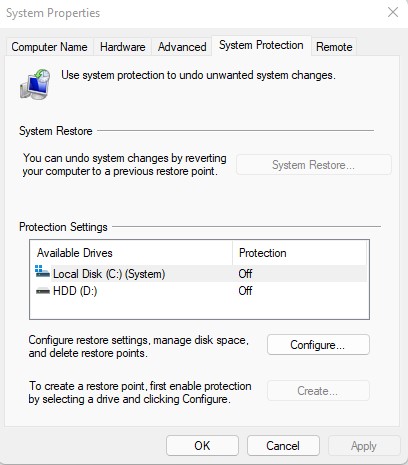
- Type in the search bar “Create a restore point”.
- Click on System Restore on the System Properties window that appeared.
- Then click Next when the System Restore window opens.
- Now check Show more restore points options; Select the desired restore point and click Next.
- Follow the instructions that are shown on the screen.
If you haven’t made a System restore point, this won’t be of help now, but it’s a great idea to have a restore point made when your PC/laptop is in a healthy state so you can jump back to that point if you face any problem.
Note: If there are no available restore points:
- Go to the Control Panel.
- Search Recover -> Select Recovery
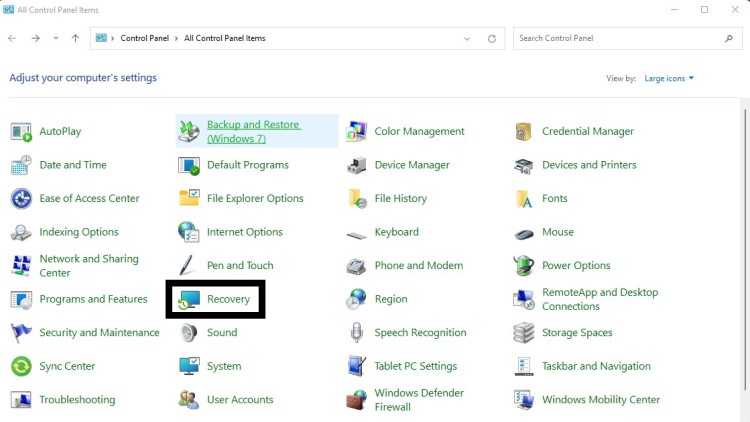
- Then go to Configure System Restore
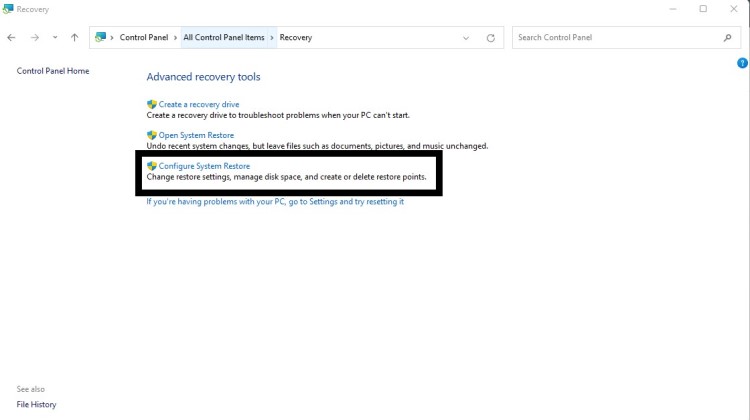
- Select Configure
- Choose Turn on system protection to enable this option.
You would need to refresh Windows from Windows Defender to fix ntoskrnl.exe high CPU usage in Windows 11 issue if this didn’t work.
Conclusion
So, these are the best fixes and I hope you will try all of them because they are really easy to try and if you got any questions or have any fix on your mind let us know in the comment section.