You can simply find the Disk Cleanup feature in the Windows menu, check the files you want to delete, and then click Clean up System files to start cleaning. From this deletion, the computer will get new storage space so that Windows performance is not slow.
For those of you who are confused because you have never made a Windows backup image, maybe the following tips can provide a little enlightenment.
The difference between image backup and file backup
Image Backup copies everything on our drive to the partition and boot sector. This is the only correct way to back up a windows installation. Whereas File Backup only backs up copies of documents, photos, spreadsheets, and others.
On the other hand, the backup file is also very important, where when we have reinstalled Windows, we will not be able to reposition photos or other important documents one by one.
Aside from the backup file, what’s an important thing to have to maintain your safety is a password manager. Yes, this software could make password saving feel less-tedious by keeping everything simple. Feel free to try the best alternatives to LastPass. Seek for one software that can give you everything.
Try to balance the price and functionality to have the best possible option.
How to Make Image Backup On Windows 10?
1. Connect our empty external hard drive, which has the capacity of everything in our internal drive. And also, make sure windows can access the external hard disk.
2. Then go to the control panel -> System and Security -> backup and restore.
Just ignore it if you find the label “Windows 7.”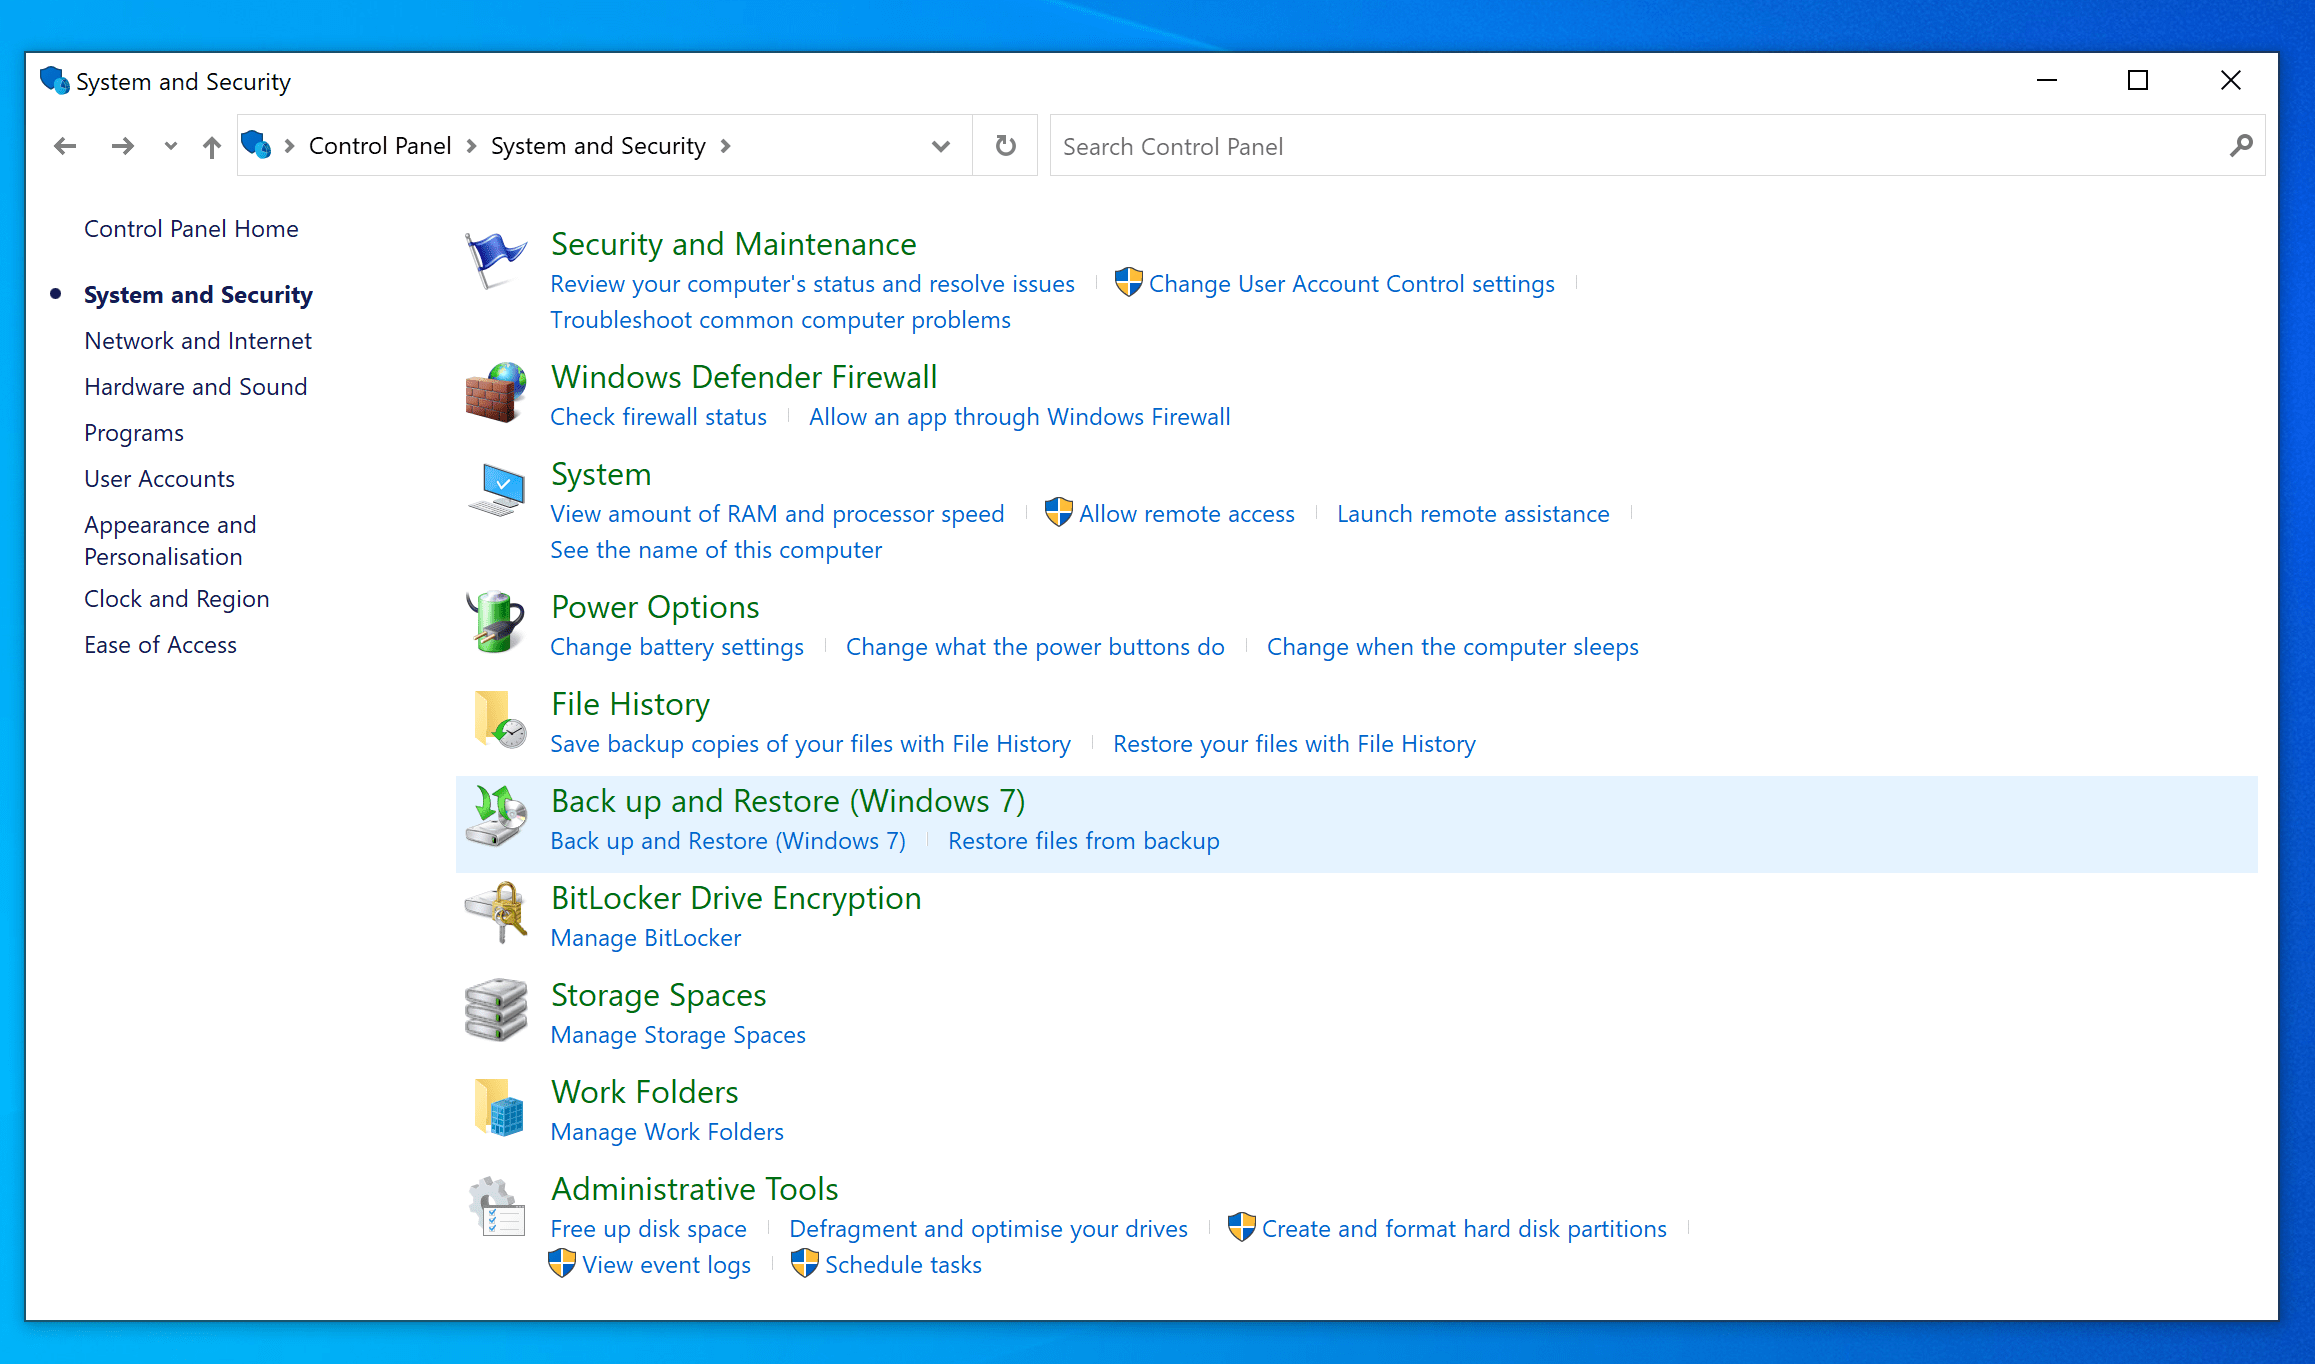
3. Select Create System Image, and on the next screen, make sure you choose an external hard disk that certainly has a large amount of free space according to the recommendations that appear.
You also save on DVD. For DVD chips, prepare several pieces according to the estimated size of your Windows 10 image.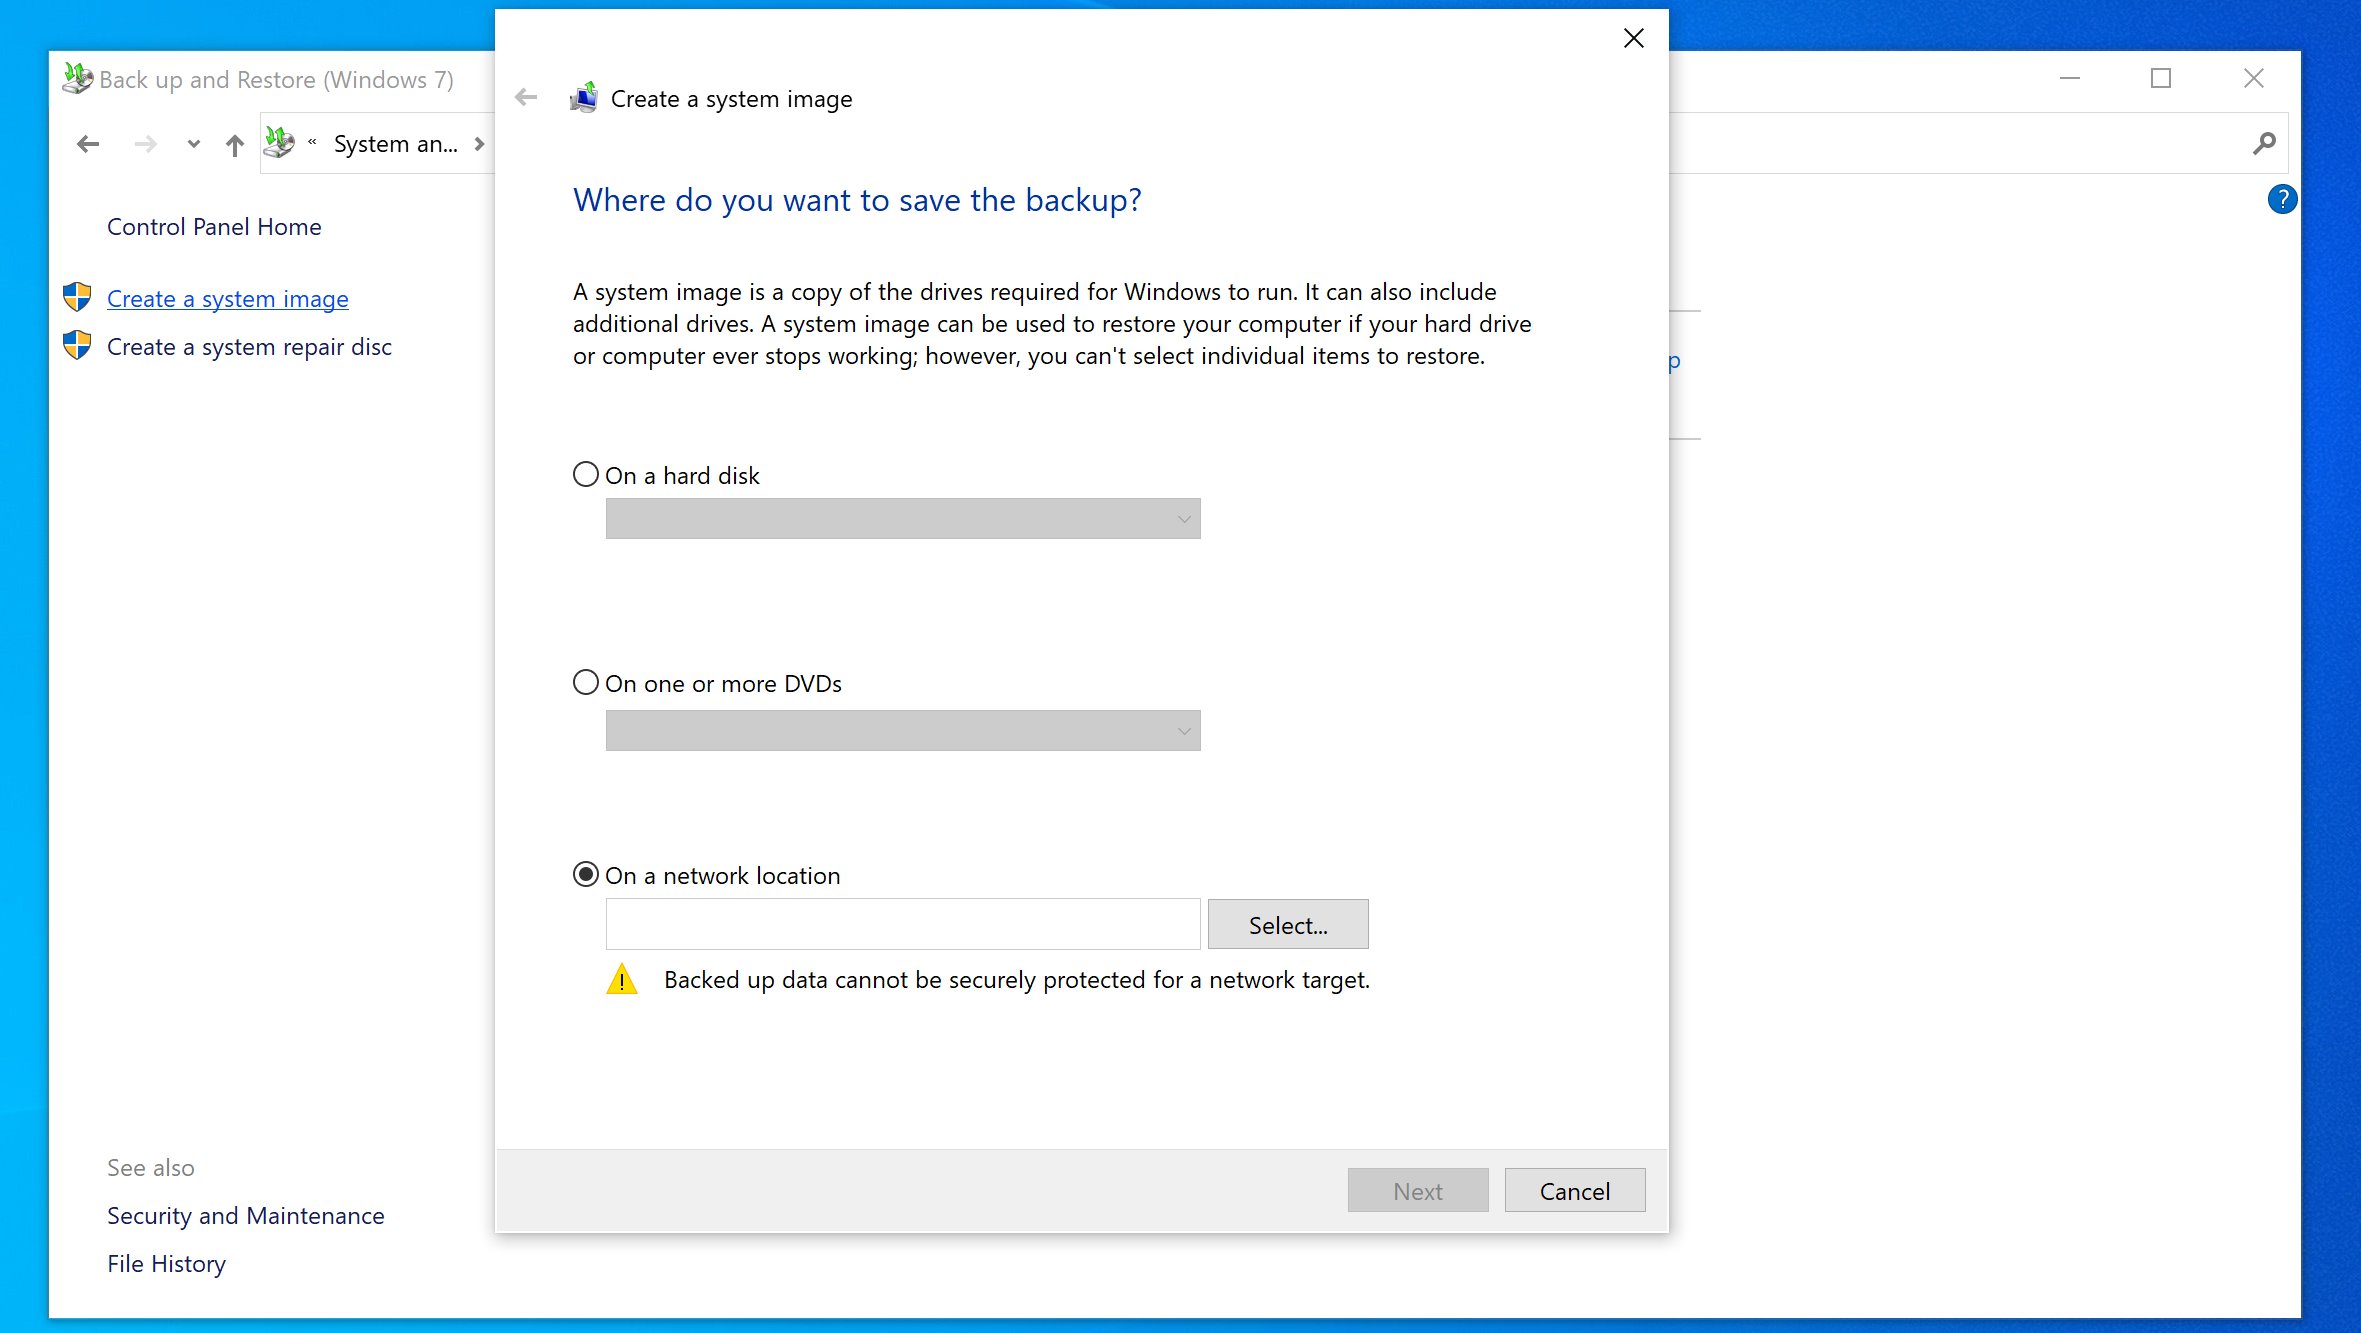
4. Then press next after confirming that you have selected drive C and another drive where the Windows 10 operating system is installed. Press the Start button to start the backup process.
Generally, the image backup process will take hours – hours, depending on the specifications of your computer or laptop. Especially the main storage specifications and external media destinations. While waiting, you can still use the computer to do other work.
Making A Recovery Drive
But it’s a good idea, during the backup process, don’t update system files or install new applications. There is a possibility that the computer will feel slow. It is reasonable because the duplication process will take up a lot of main memory (RAM) capacity.
When the backup process is complete, a notification will appear whether we want to create a System Repair Disk or not. If your PC has an optical drive, it’s a good idea to create a System Repair disk. Or, you can also create a recovery drive using a flash drive media.
The trick, click Start and type recovery drive. Click Next, and please wait for the system to finish scanning. Follow the next instructions. And done! You’ve successfully created a recovery device!
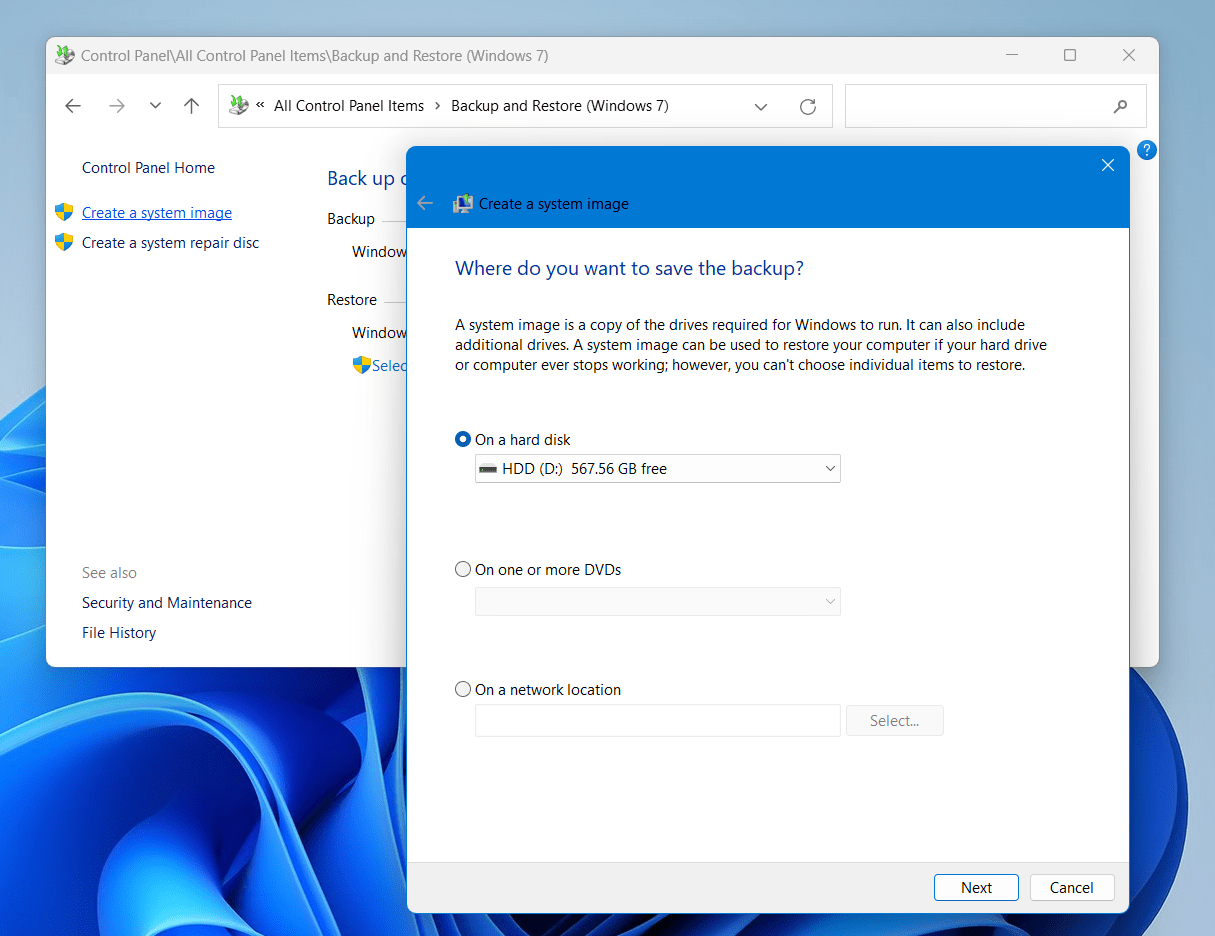
How to Make Image Backup On Windows 11
1. Open Control Panel.
2. Click the Backup and Restore option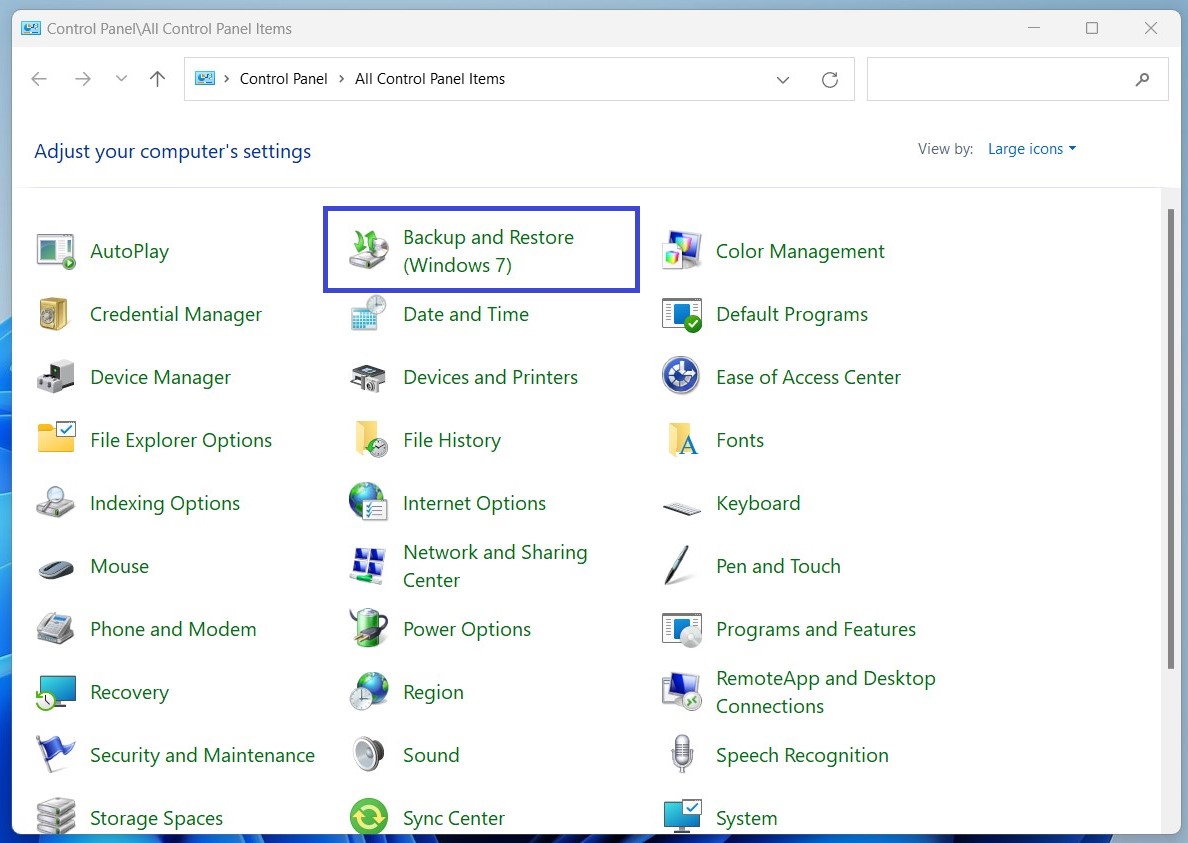
3. In the upper left corner, click Create a system image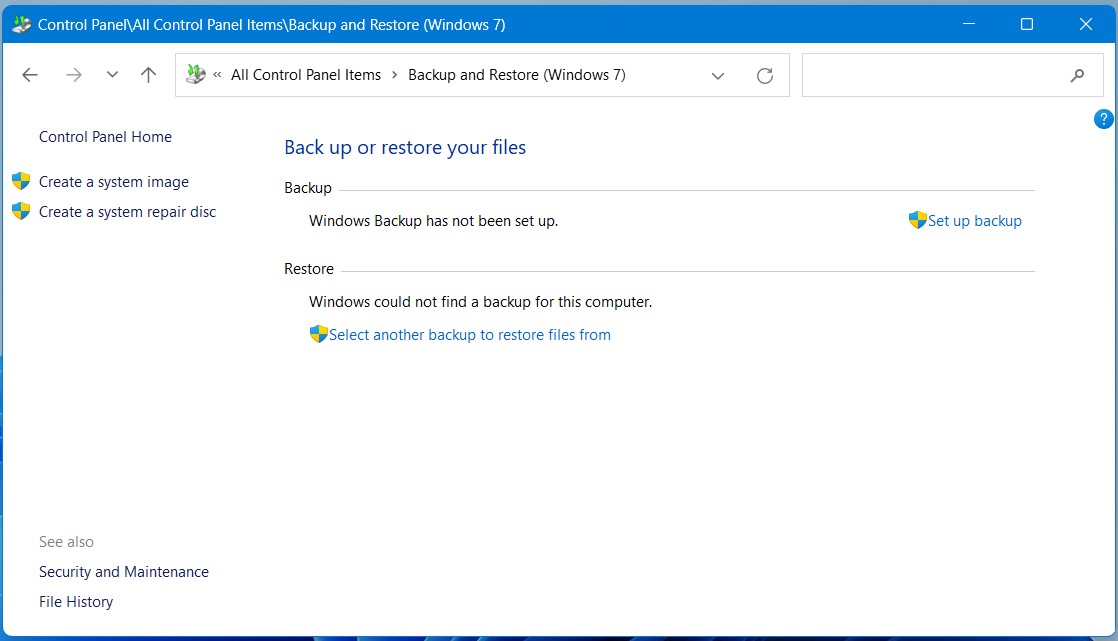
4. You will be given three media options that will save the backup results, including:
- On a Harddisk: Store it on another partition (but still the same physical drive) or by using an external media such as an external HDD.
- On one or more DVDs: Store them on one or more DVDs.
- On a Network Location: Stores it on a network, for example, a server or another client on the same network.
5. Finally, a recap of the total size that will be used for the image will appear and which drives will be backed up. Click Start backup to start the process.
6. The backup process will take from 30 to 40 Minutes or more, depending on the total size of the System Image being backed up. After the backup process is complete, an option will appear to create a ‘System Repair Disc’.
The system repair disc itself is to make a recovery with CD / DVD media, which is used to boot into System Recovery Options for system recovery. If you don’t need this option, click No.
7. Done!